Finding the right waste management solution can be a daunting task, especially if you have a large amount of waste to dispose of. It can be time-consuming, expensive, and not to mention harmful to the environment. However, with skip hire tonbridge , you can easily and responsibly get rid of your waste without breaking a sweat.
What is Skip Hire?
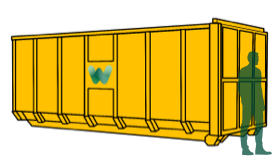
Skip hire is a convenient service that allows you to rent a large container, known as a skip, for the purpose of collecting and disposing of waste. These skips come in various sizes, from mini to maxi, to suit your specific needs. They are commonly used for renovation projects, garden clean-ups, and even construction sites.
Convenience at Your Fingertips
One of the main advantages of skip hire tonbridge is convenience. With just a few clicks or a phone call, you can have a skip delivered to your …